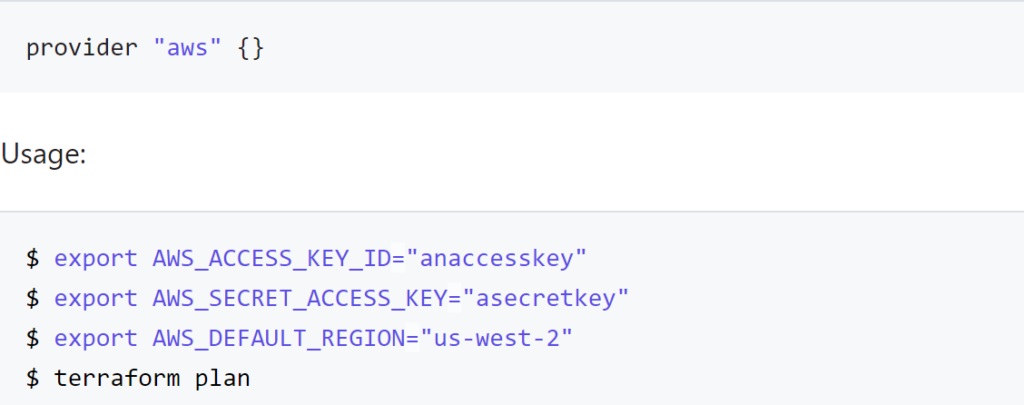
One of the foundational components of automation is being able to speak in the language of your target. With AWS, for example, CloudFormation is a good tool to define what a deployment in AWS should look like and ensures conformity to the design definition. The main problem is that CloudFormation only works on AWS and does not work on other deployment platforms. Terraform, on the other hand, performs the same automation from a configuration definition and creates the desired components onto a variety of platforms. The mechanism used to perform this function is the inclusion of a provider definition. If you think in terms of Java or C programming a provider is a set of library functions that can be called and including a provider definition is similar to a include statement to pull in a library header.
Some good blogs that compare and contrast Terraform vs CloudFormation include:
- https://ryaneschinger.com/blog/aws-cloudformation-vs-terraform/
- https://www.missioncloud.com/blog/aws-cloudformation-vs-terraform-which-one-should-you-choose
- https://cloudonaut.io/cloudformation-vs-terraform/
- https://www.toptal.com/terraform/terraform-vs-cloudformation
If you look at the definition of a provider from HashiCorp on their Providers page it defines a provider as a way to expose the API interface of the backend system as well as tasks that might be needed like random number generation utilities to generate names. The Terraform Registry includes a list of providers and systems that Terraform can interface with. Checking the public cloud box provides us with a list of various cloud hosting targets that we will focus on in later blogs.
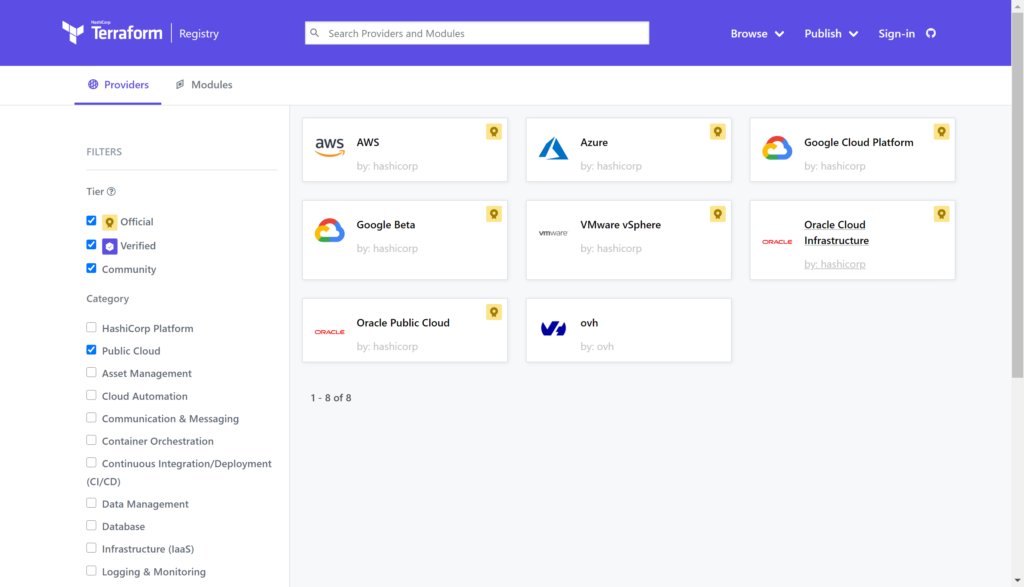
For the purpose of this blog we will dive into the VMware vSphere provider to get an understanding of how to call it, what happens when you call it, and what constructs are needed when you call it. In a previous blog we compared the vSphere provider to the AWS provider on a very high level to talk about the format differences between providers. In this blog we will dive deeper into the vSphere provider to help understand how to deploy it in a development, production, and disaster recovery scenario.
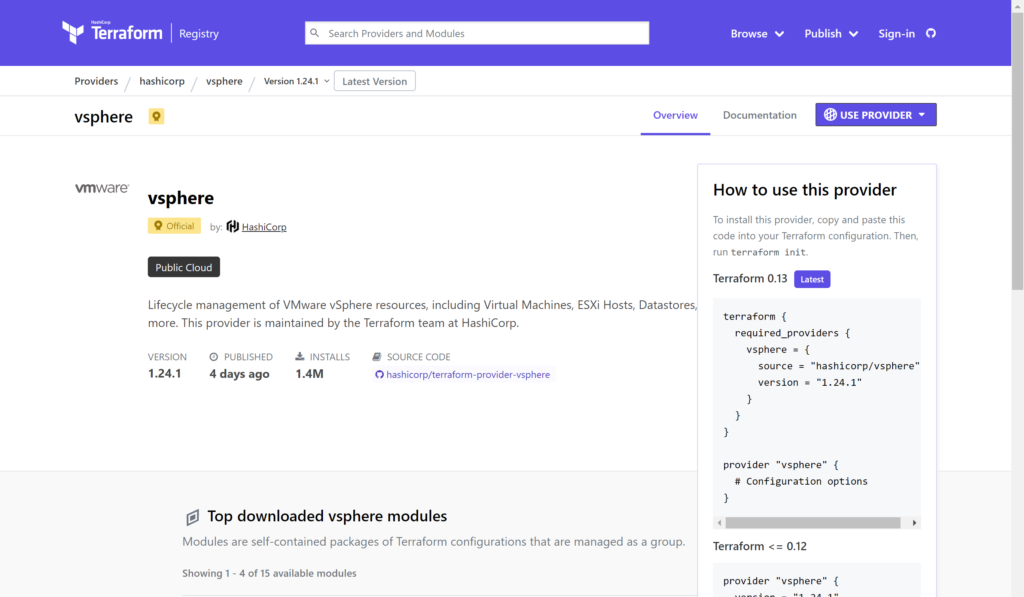
Selecting the vsphere provider and clicking on the USE PROVIDER button at the top right it shows that you can call the provider with either the required_providers or provider command structures. We will use the simplest example by calling only
provider “vsphere” { }
Looking at the documentation there are a variety of optional and required parameters that are needed inside the curly brackets.
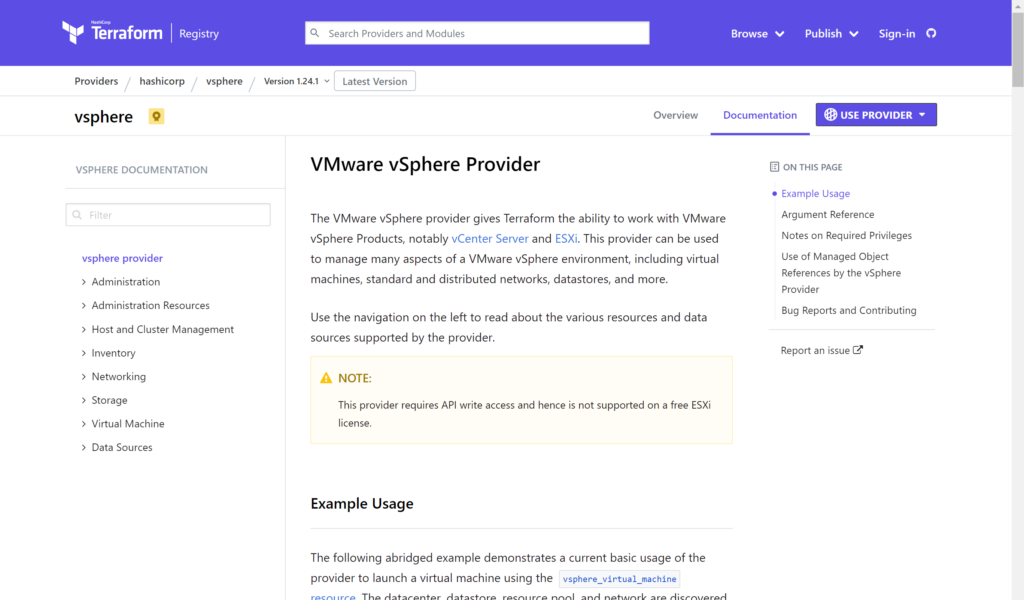
The parameter options that we need for the provider definition include (taken straight from the hashicorp page):
user– (Required) This is the username for vSphere API operations. Can also be specified with theVSPHERE_USERenvironment variable.password– (Required) This is the password for vSphere API operations. Can also be specified with theVSPHERE_PASSWORDenvironment variable.vsphere_server– (Required) This is the vCenter server name for vSphere API operations. Can also be specified with theVSPHERE_SERVERenvironment variable.allow_unverified_ssl– (Optional) Boolean that can be set to true to disable SSL certificate verification. This should be used with care as it could allow an attacker to intercept your auth token. If omitted, default value isfalse. Can also be specified with theVSPHERE_ALLOW_UNVERIFIED_SSLenvironment variable.vim_keep_alive– (Optional) Keep alive interval in minutes for the VIM session. Standard session timeout in vSphere is 30 minutes. This defaults to 10 minutes to ensure that operations that take a longer than 30 minutes without API interaction do not result in a session timeout. Can also be specified with theVSPHERE_VIM_KEEP_ALIVEenvironment variable.
For security sake it is recommended to hide user and password information in a different file from the definition or have it as environment variables in the shell to pass into terraform. In this example we will create two files, variables.tf and main.tf to simple call the provider definition and look at the constructs that are created by terraform.
The main.tf file looks like

provider “vsphere” {
user = var.vsphere_user
password = var.vsphere_password
vsphere_server = var.vsphere_server
version = “1.12.0”
allow_unverified_ssl = true
}
Note the use of var.<something> to pull in the definition of an externally defined variable. This could be done with a second file or with environment variables. For a variables.tf file we could enter

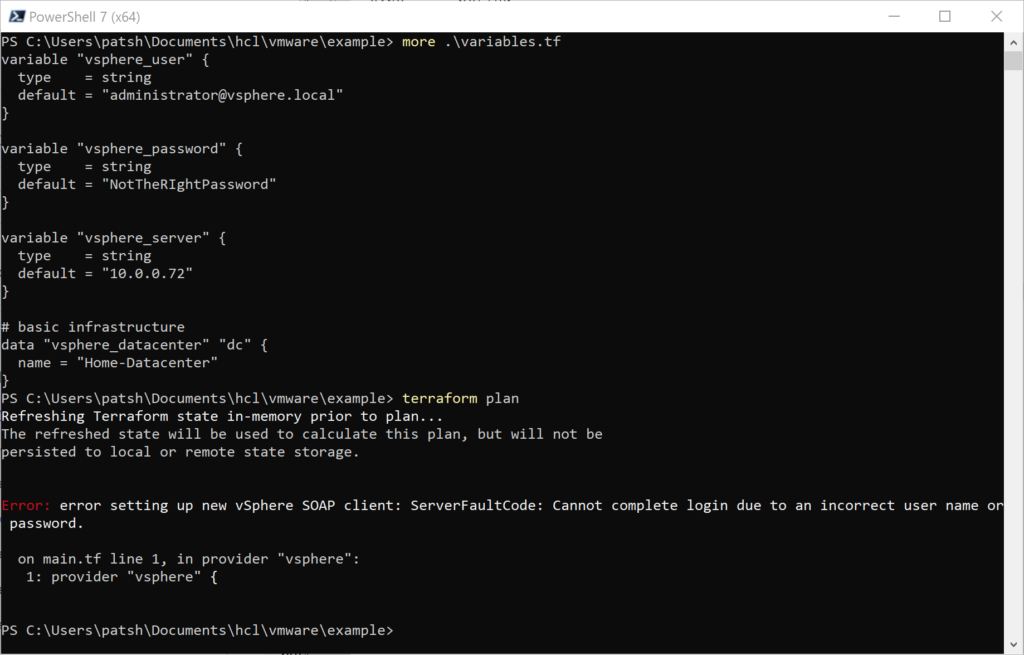
variable “vsphere_user” {
type = string
default = “administrator@vsphere.local”
}
variable “vsphere_password” {
type = string
default = “NotTheRIghtPassword”
}
variable “vsphere_server” {
type = string
default = “10.0.0.72”
}
In the variables.tf file we define three string values and include a default value to pre-define what the variable should be defined as. If we open up a PowerShell windows (or Terminal on Linux) we can see that there are only the variables.tf and main.tf files in the directory.
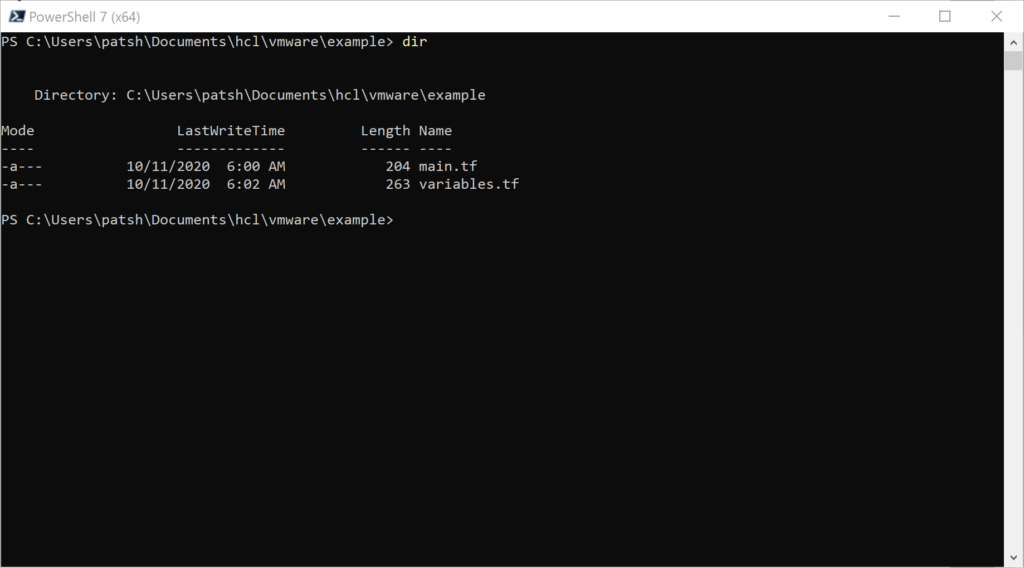
Note that we are using PowerShell 7 as the command line interface so that we can test out the connection to our vSphere server using PowerCLI commands to verify variable definitions.
If we type
terraform init
The hashicorp/vsphere provider data is pulled from the web and placed in the .terraform subdirectory.
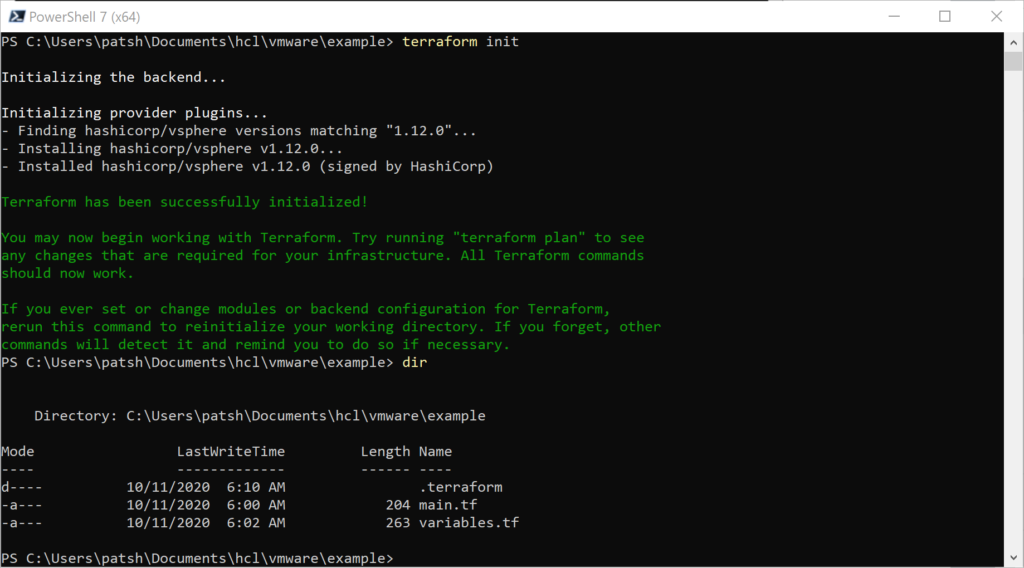
Looking at the .terraform directory it contains a grouping of libraries that we can call from our main.tf definition file.
If we use the tree command we can see the nested structure and note that there is a selections.json file at the plugins and a terraform-provider-vsphere_v1.12.0_x4.exe at the windows_amd64 subdirectory

What the init command did was find out what platform we are running on and pulled down the appropriate binary to translate terraform modules and resource calls into API calls into vSphere. For our example we will make API calls into our vSphere server located at 10.0.0.72 as administrator@vsphere.local with the given password. The selections.json file contains a hash value that is used to test the binary integrity of the terraform-provider-vsphere_v1.12.0_x4.exe and download a new version if needed next time the init command is issued.
At this point we can call the
terraform plan
command to test our main.tf and variables.tf configurations. Everything should work because the syntax is simple so far.
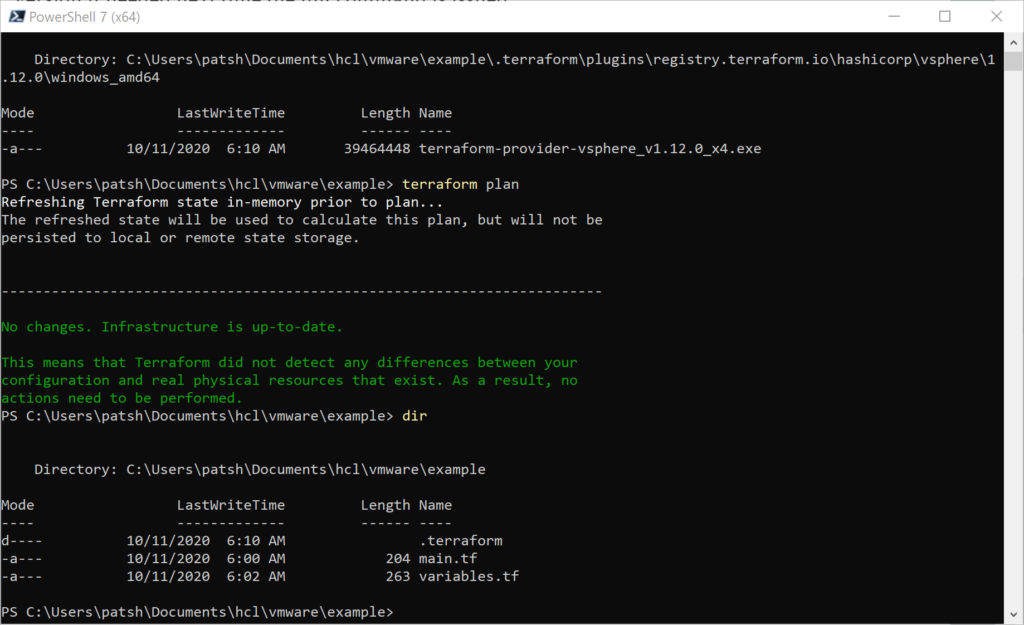
Note that we don’t have a state file defined yet. This should happen when we type
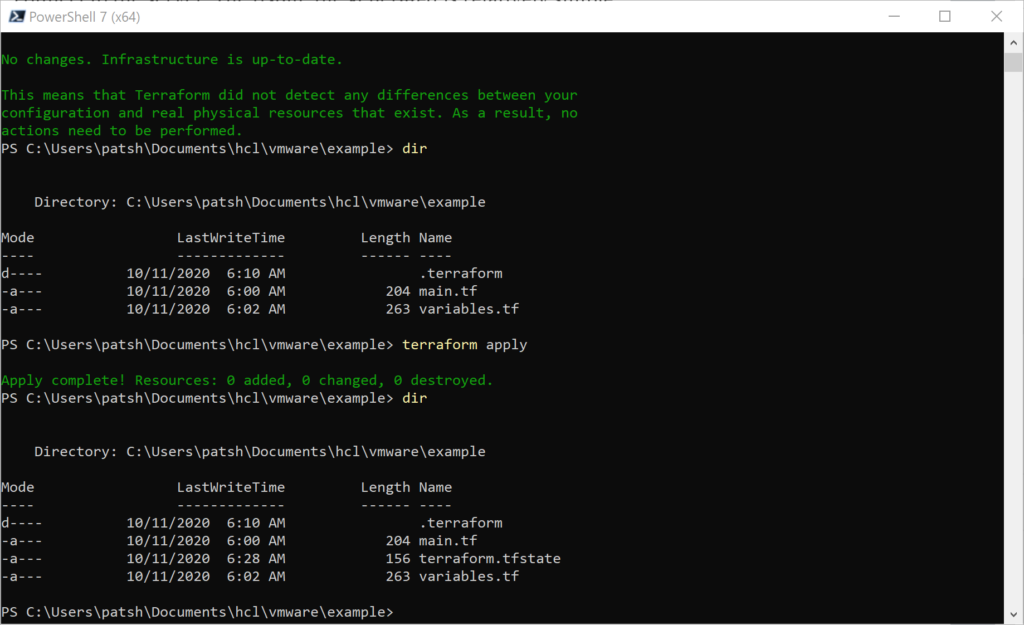
terraform apply
Once we execute this command we get a terraform.tfstate file locally that contains the state information of the current server. Given that we have not made any resource definitions, data declarations, or module calls we don’t have any need to connect to the server. The tfstate file generated is relatively simple.
{
“version”: 4,
“terraform_version”: “0.13.3”,
“serial”: 1,
“lineage”: “f35a4048-4cee-63e0-86b2-e699165efbe5”,
“outputs”: {},
“resources”: []
}
If we included something simple like a datacenter definition the connection will fail with the wrong password.
Putting in the right password but the wrong datacenter will return a different value
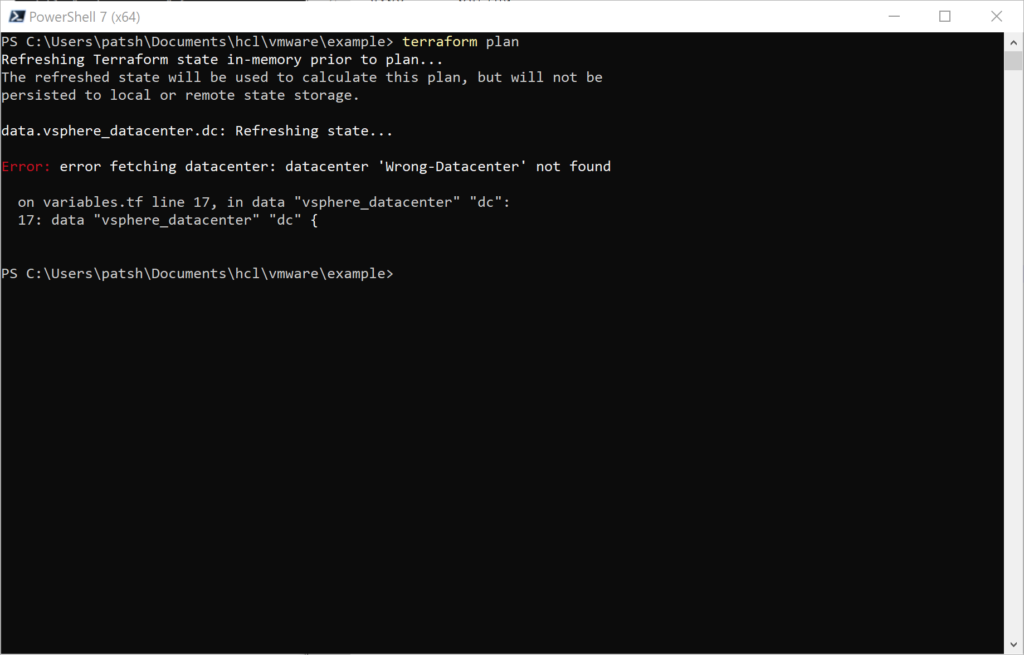
To get the right datacenter we can go to the vSphere html5 user interface or use the Connect-VIserver command to look for the datacenter name.

In this example we should use the Home-Datacenter as the Datacenter name.
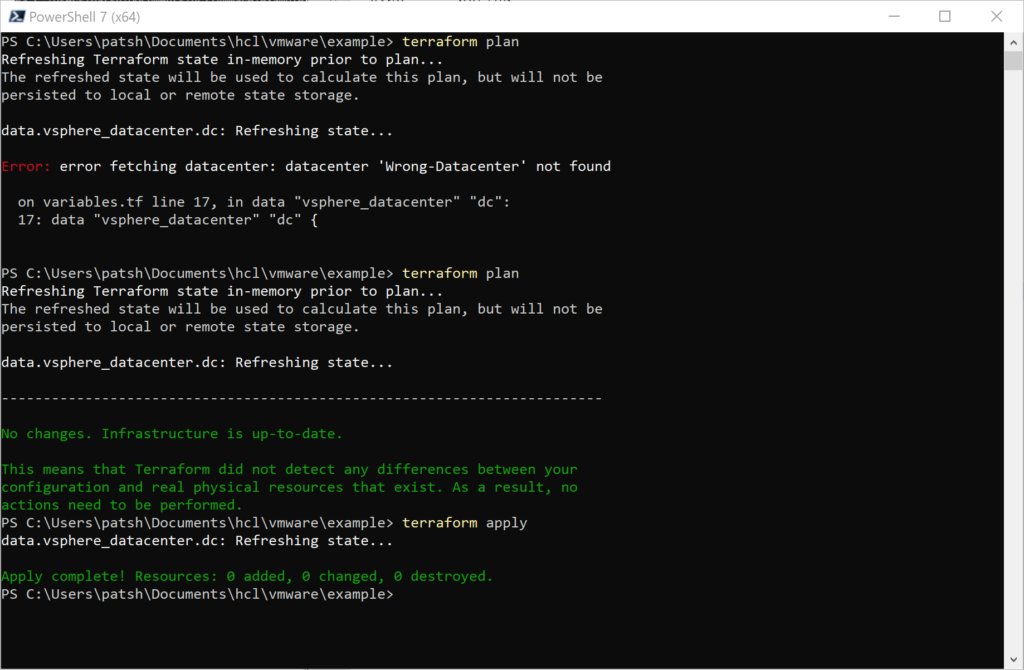
It is important to note that the tfstate file changes with the successful apply and the resources section now contains valid data about our server.
{
“version”: 4,
“terraform_version”: “0.13.3”,
“serial”: 2,
“lineage”: “f35a4048-4cee-63e0-86b2-e699165efbe5”,
“outputs”: {},
“resources”: [
{
“mode”: “data”,
“type”: “vsphere_datacenter”,
“name”: “dc”,
“provider”: “provider[\”registry.terraform.io/hashicorp/vsphere\”]”,
“instances”: [
{
“schema_version”: 0,
“attributes”: {
“id”: “datacenter-3”,
“name”: “Home-Datacenter”
}
}
]
}
]
}
In summary, we have looked at how to find various providers to use with terraform, how to call a sample provider and what constructs are created when the init, plan, and apply functions are used with the local terraform binary. Fortunately, none of this changes if you are using Windows, Linux, or any other operating system. The provider directory under the .terraform tree contains the binary to translate from local API calls to API calls on the target system. This is a simple example but gives a good overview of what a good and bad connection into a vSphere server looks like and how to troubleshoot the connection. This construct should also work for a direct connection into an ESXi server without having to spin up a vSphere management instance.
