In the last entry we created a Linux install by creating a new virtual machine and booting from an iso image. This works but is very time consuming every time we want a playground. In this entry we will clone an existing machines using thin cloning, modify the clone, add guest services extensions, mount the E:\ drive to reading, and stage an installation of the 11g Oracle database.
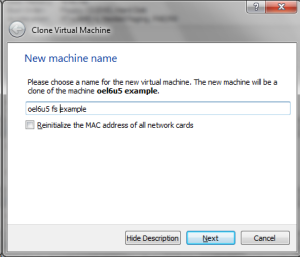
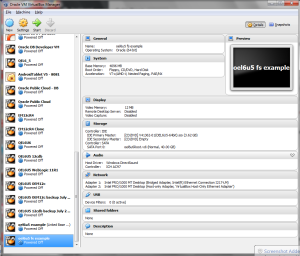
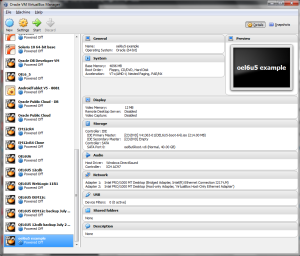
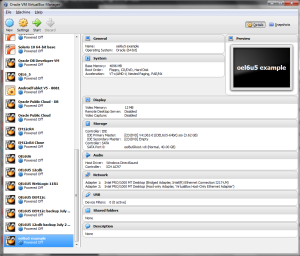
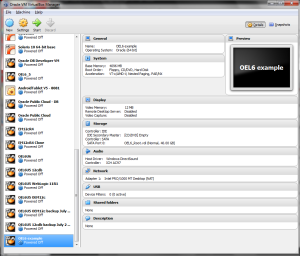
The first step is to clone our existing machine. We don’t want to create a new one because the first one took almost two hours. If we left click on the oel6u5 example and right click we can select Clone…
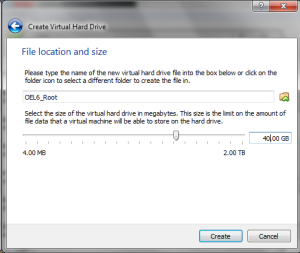
We are given the option of a full clone or a linked clone. A full clone takes all of the files that we created (the 40G root disk which is thin provisioned) and makes a new copy of it. The linked clone tracks differences from the old instance and the clone instance. As changes are made to the new instance, they are recorded in a new directory. The old instance is forked and any new changes happen in a new file. The old file preserves a spot in time where the two were the same. 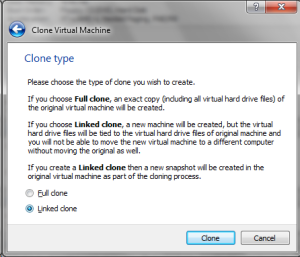
The linked clone comes back almost immediately since no files are copied to create the new instance.
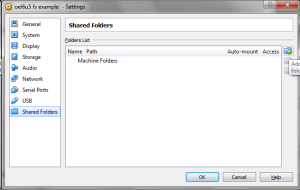
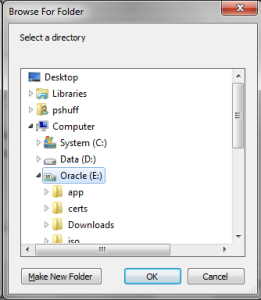
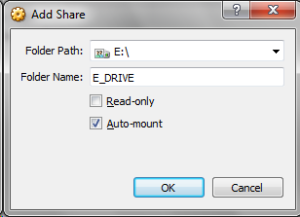
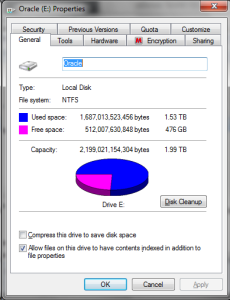
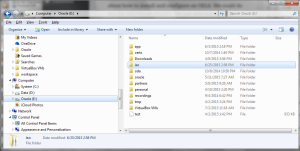
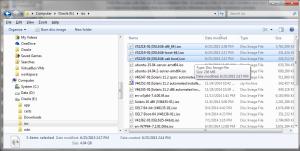
What we want to do is mount the E:\ drive as a media folder inside of our guest operating system. To do this we must go to the settings and select shared folders. We Add a shared folder access point and map it to the E:\ drive. We automount it and make it read-write.
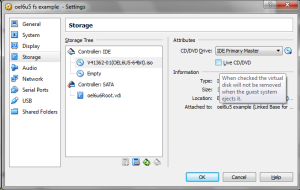
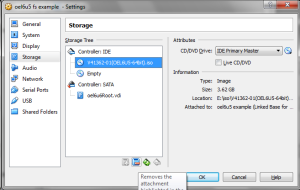
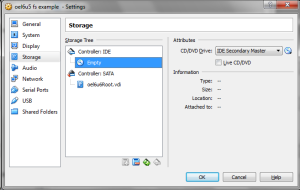
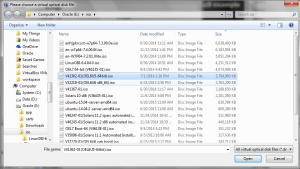
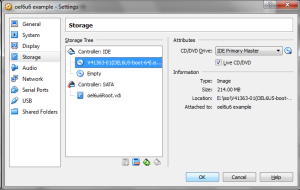
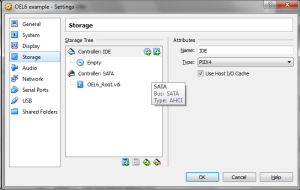
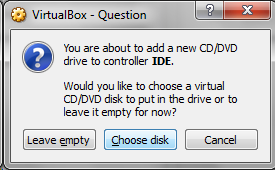
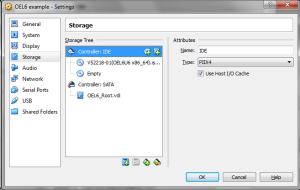
While we are in the setting we also need to remote the CD/DVD since we are finished installing the operating system and want to boot off our new instance. We do this by selecting Storage, selecting iso file that we mapped, and clicking on the blue icon at the bottom with a minus sign in it. This removes the CD from our mapping and we boot from the hard drive that we used for our installation.
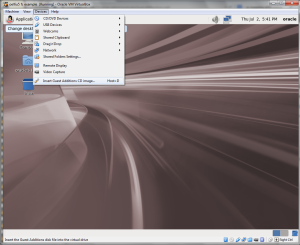
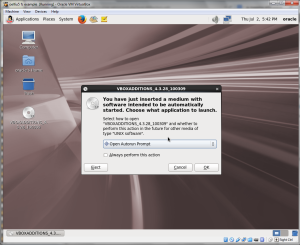
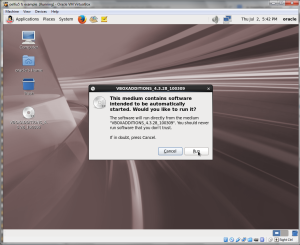
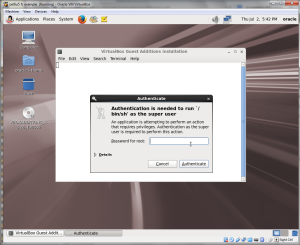
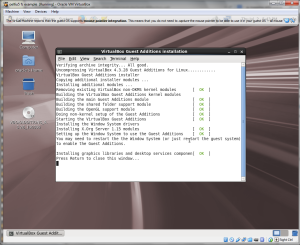
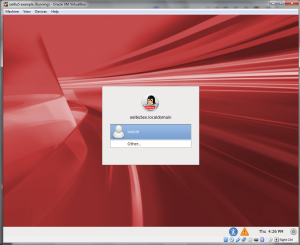
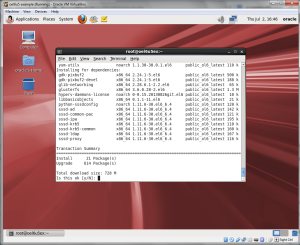
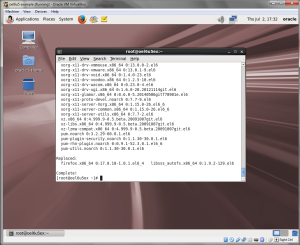
Once we reboot, we log in as the user oracle and add the guest services extensions. This is done by going to the top menu bar in the VirtualBox window and selecting Insert Guest Additions CD image from the Devices menu. This mounts the CD and asks you if you want auto-run the content.
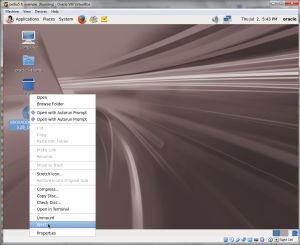
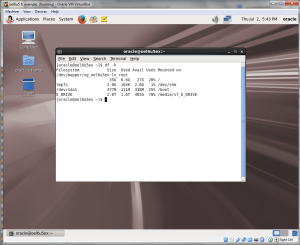
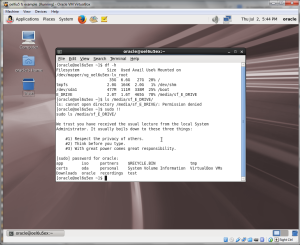
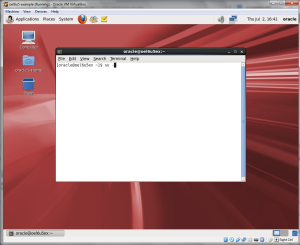
Note that kernel modifications were made to map the local drive to a mounted resource. We can eject the guest services CD and verify that the file system is mounted.
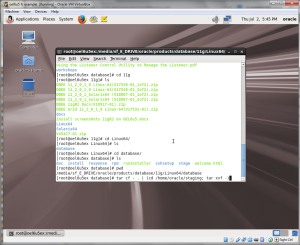
It is important to note that the /media/sf_E_DRIVE is readable only by root. We can copy data from this location to a local location as is needed for database installation or just access the data as root.
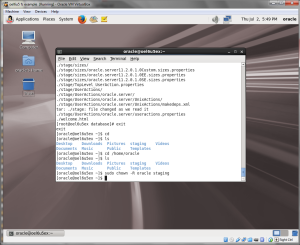
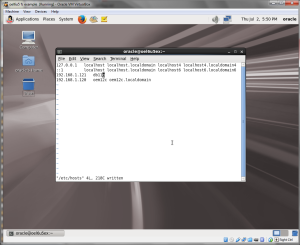
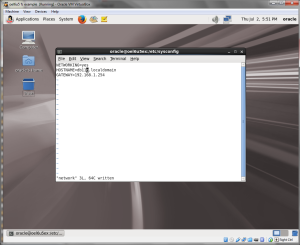
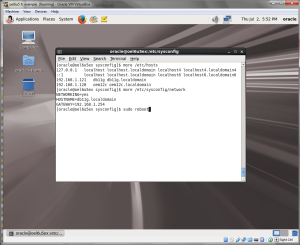
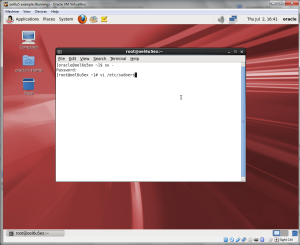
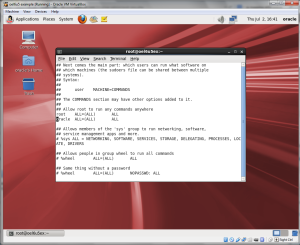
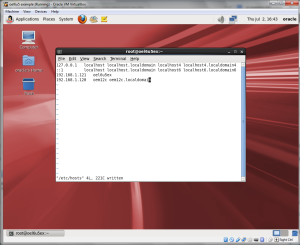
Before we install the 11g database we will want to change the hostname of this machine. We will keep the ip address the same but change the hostname by editing the /etc/hosts and /etc/sysconfig/network files. We will also need to change ownership of the staging directory back to oracle with the chmod -R command to make it owned by oracle for the installation.
In this example we change the hostname from oel6u5ex to db11g since we are staging to install the 11g instance of the database. We could have changed it to db12c if we were going to stage the 12c instance of the database. The process and procedure is the same with the exception of the hostnames and which database binaries we put into the staging area.
up next: installing the 11g database into our sandbox
