In this entry we will go through downloading and installing Oracle Enterprise Linux Release 6 update 6. We are selecting this version over RedHat or Ubuntu or Debian because most of the Oracle documentation talk about how to install and configure on OEL6. We could do this for OEL7U1 or OEL5U?. We just selected OEL6U6 because it is the most recent with the best examples on the web.
Two things to consider when installing guest operating systems on VirtualBox are iso images and image sizes. To make things easier we consolidated software into two directories. The first is an iso directory. This directory is for operating system installations. The second directory is for the binaries like the database or identity servers. It is easier to isolate the two because one is used to jumpstart a new instance. The second directory can be mounted and pulled into an instance to install software. The second are that we need to consider is the directory to hold the virtual images that VirtualBox creates.
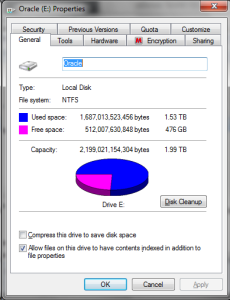
For our sandbox machine, we installed a 2T disk to hold iso images, binaries, and virtual images. In our example, this is drive E.
We have consumed about 500G of a 2T drive
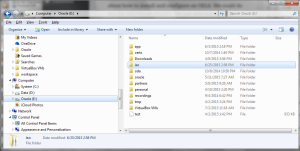
There are three directories that we created: iso, oracle, and VirtualBox VMs. What we want to do is download the operating system iso files from edelivery.oracle.com and put it in the iso directory as is shown.
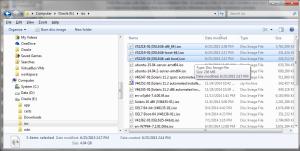
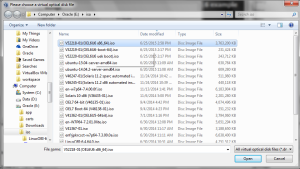
To keep things a little more organized, we use a naming convention to identify the iso file. Oracle creates a file with a filename like V52218-01. This means nothing to me but OEL6U6 x86_64.iso has relavance. Note the file convention that we use contains both. The V(number).iso tells us the version that was downloaded from the edelivery site and the OEL6U6 tells us that this is the Linux Release 6 Update 6 version of the OS. Note that some of the conventions are reversed. For the OEL7 iso we had the V(number) inside the parenthesis and the OEL7 outside. Either works as long as you can tell which is which easily.
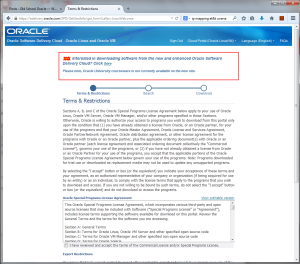
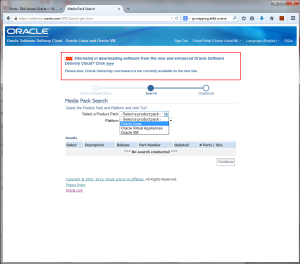
To download the iso file, you need to go to edelivery.oracle.com and select the Oracle/Linux VM from the top of the screen. There are three options in the pull down: Main, Oracle/Linux VM, and Oracle 1-click. The Main and Oracle 1-click allows you to download the installation binaries for things like the database or E-Business suite. The Oracle/Linux VM allows you to download OracleVM, Linux, and Solaris binaries. Unfortunately, the license requirements and conditions are different prior to downloading the software. Oracle requires you to select what you are going to download and agree to user and license restrictions.
goto http://edelivery.oracle.com and select Oracle Linux/VM to get to the operating system download. 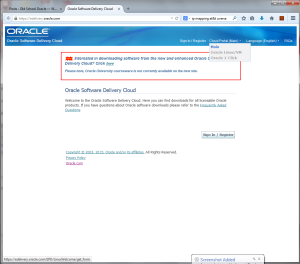
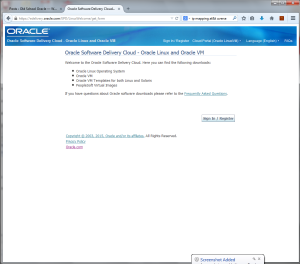
Login with your oracle.com credentials.
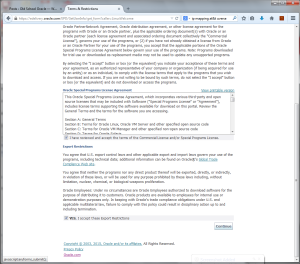
Accept the license to search for the OS
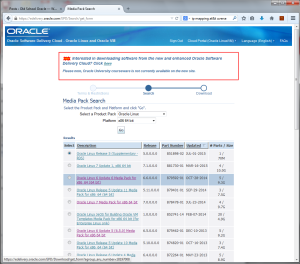
Look for Linux on a 64-bit system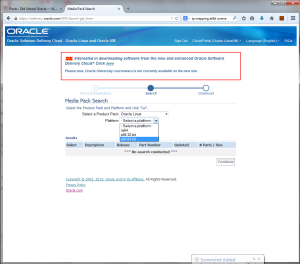
The OS downloads will come back in release order. Re-sort by Updated date to look for the latest version. 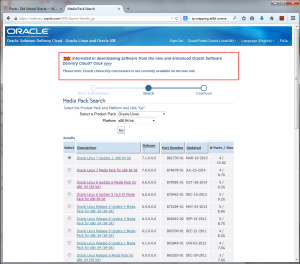
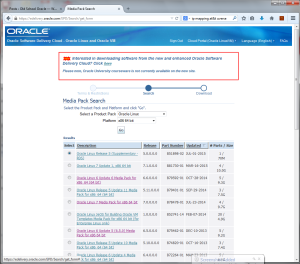
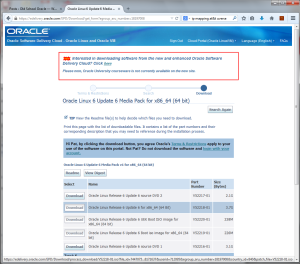
Select the Release 6 Update 6 version and download the iso images. Note that there are three. The largest is the DVD image that we typically want to boot from.
The download takes a while. Remember that you are downloading a 4G iso image. There is no need to download the source, only the bootable iso image.
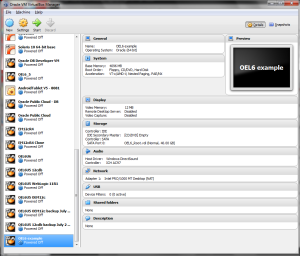
Once the images are downloaded we need to configure VirtualBox to read this image and boot from it. To start this, we click on the New icon at the top left of the VirtualBox console.
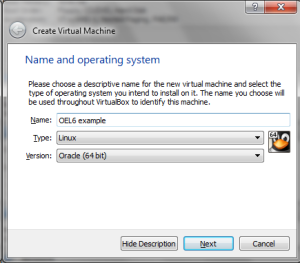 We call this instance OEL6 example, select Linux as the OS and Oracle 64-bit as the version.
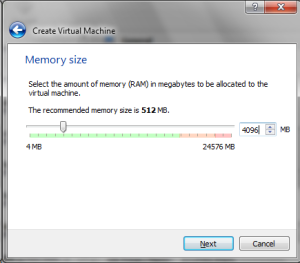
We change the memory for this instance to 4G. We can get by with much less but if we are using this for a database, 4G is the minimum recommended.
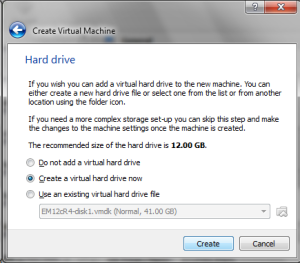
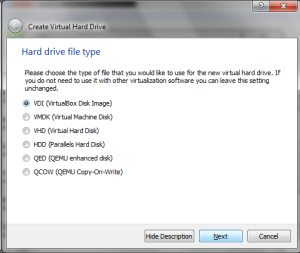
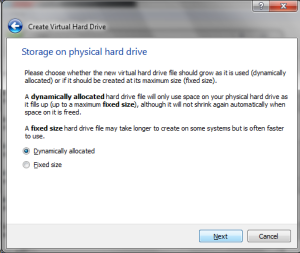
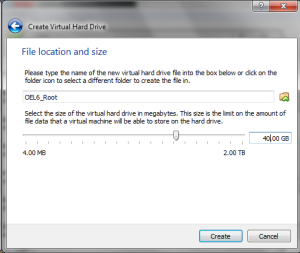
We create a 40G drive as a virtual, dynamically created drive. Note that we could create this as a VMDK file which makes it compatible with VMWare. In our example we use the VDI since is compatible with OracleVM. Either should work.
We now have a virtual container that we can boot an iso image into. We do need to modify the network as well as mount the iso image as a CD-ROM for booting.
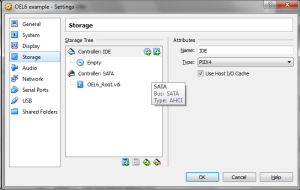
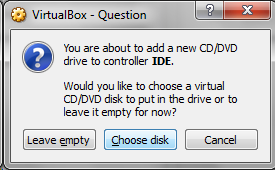
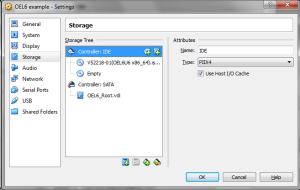
To map the iso image, we click on the storage and map the iso image as a CD-ROM. Click on the Circle on the right with a Plus sign on it. This pops up the add new CD/DVD question and file selector when we click on Choose disk.
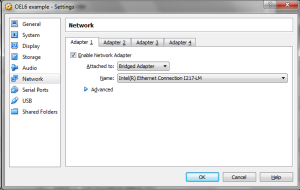
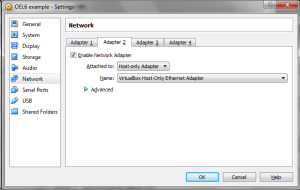
Next we configure the network to have a bridged interface on adapter 1 as well as a host only network interface on adapter 2. This should give us an eth0 as a bridged network and eth1 as a host only interface.
From here we click on Start at the top left of the VirtualBox console which gets us into installing the operating system.
Up next: Installing OEL6U6
