In our last blog post we looked at data vs resources with Terraform and talked about static vs dynamic characteristics of data when compared to resources. In this blog we are going to look at using variables to declare structures rather than using data declarations. We will also cover a third option to use Local Values rather than variables and where they might be useful. It is important to note that there is no right or wrong answer with the use of local, variables, or data since they effectively perform the same functions and do not destroy structures as resources do when you execute the destroy option with terraform.
First, let’s look at Local Values. Declaring a local value allows you to insert a relatively static label into a variable stream. They are typically used for structures like tags or common_tags rather than static constructs. It is an easy way to declare something like a version or group that manages and maintains the resource in question.
locals {
  service_name = "forum"
  owner        = "Community Team"
}
locals {
# Common tags to be assigned to all resources
common_tags = {
Service = local.service_name
Owner = local.owner
}
}resource "aws_instance" "example" {
# ...
tags = local.common_tags
}Note that the initial declaration is a name associated with a string. The second declaration aggregates references to these tags into another tag with the local.<name> reference. This name can then be accessed with the local.common_tags reference in main code and not have to replicate the service or owner tag information. Unfortunately, defining associations in a locals declaration does not allow for values to be passed in from the command line as is done with variables.
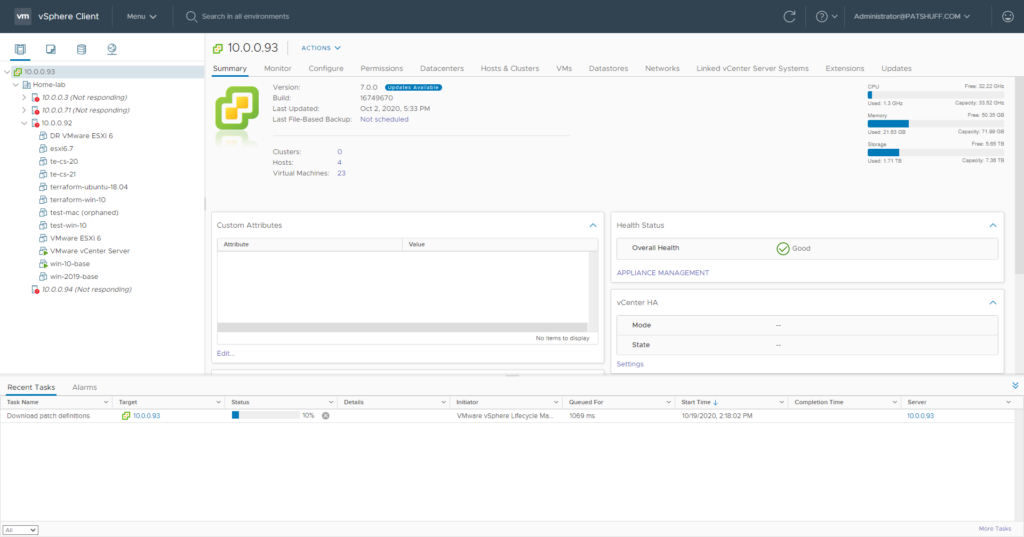
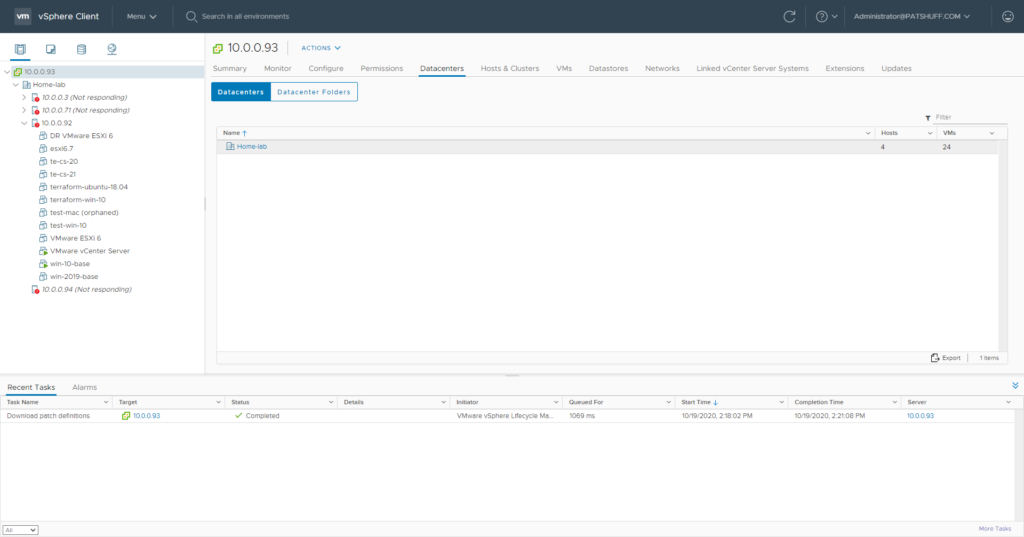
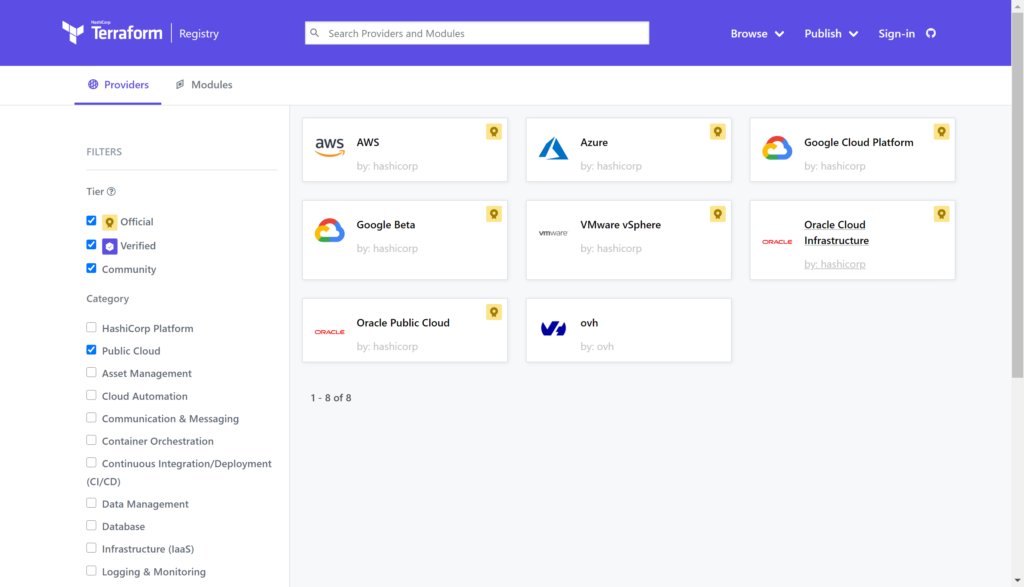
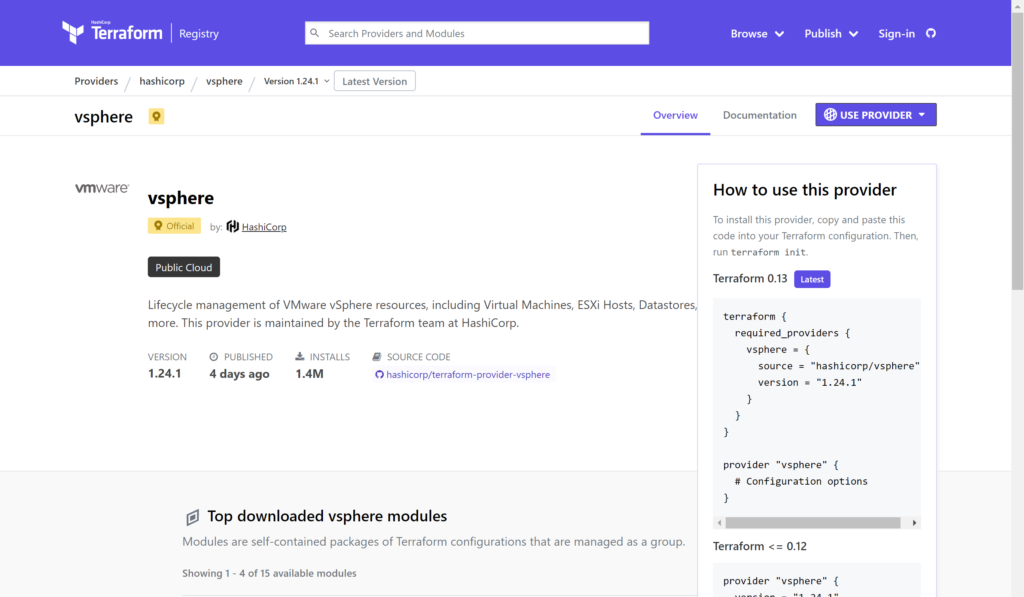
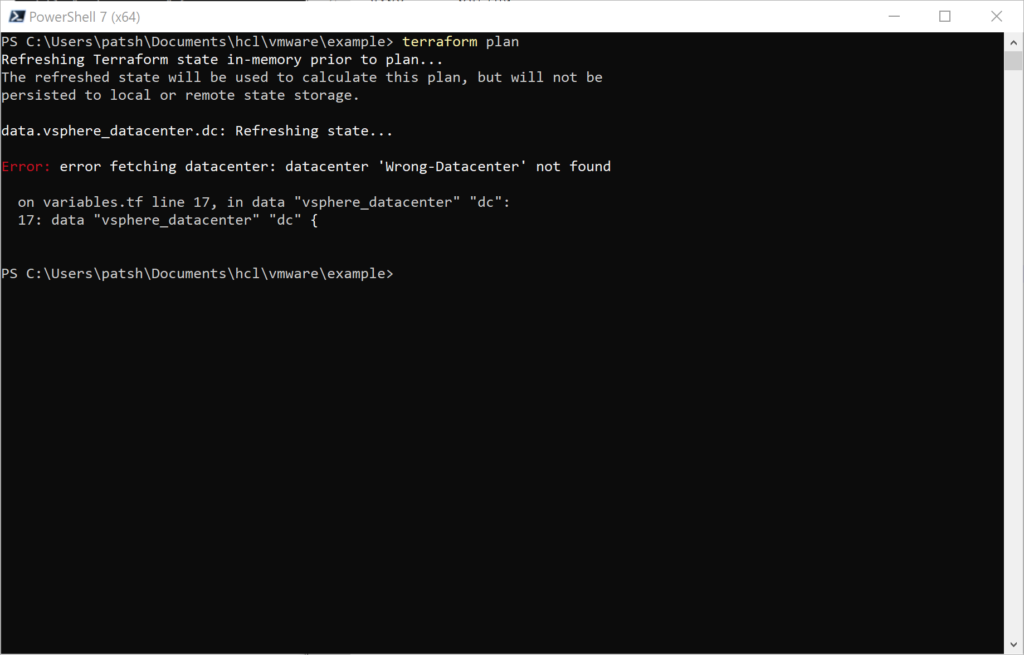
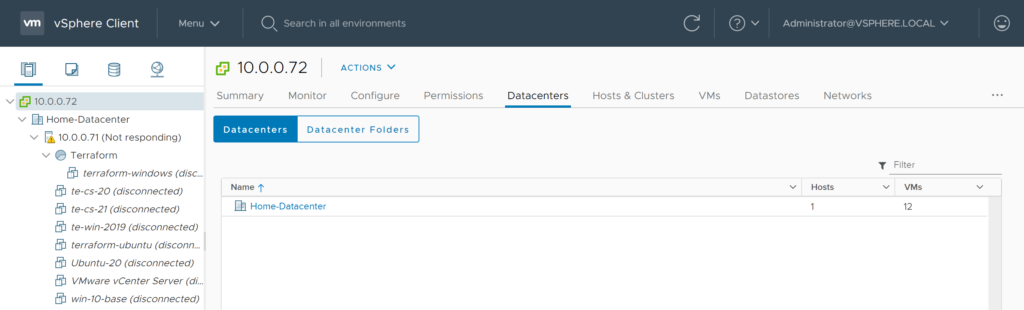
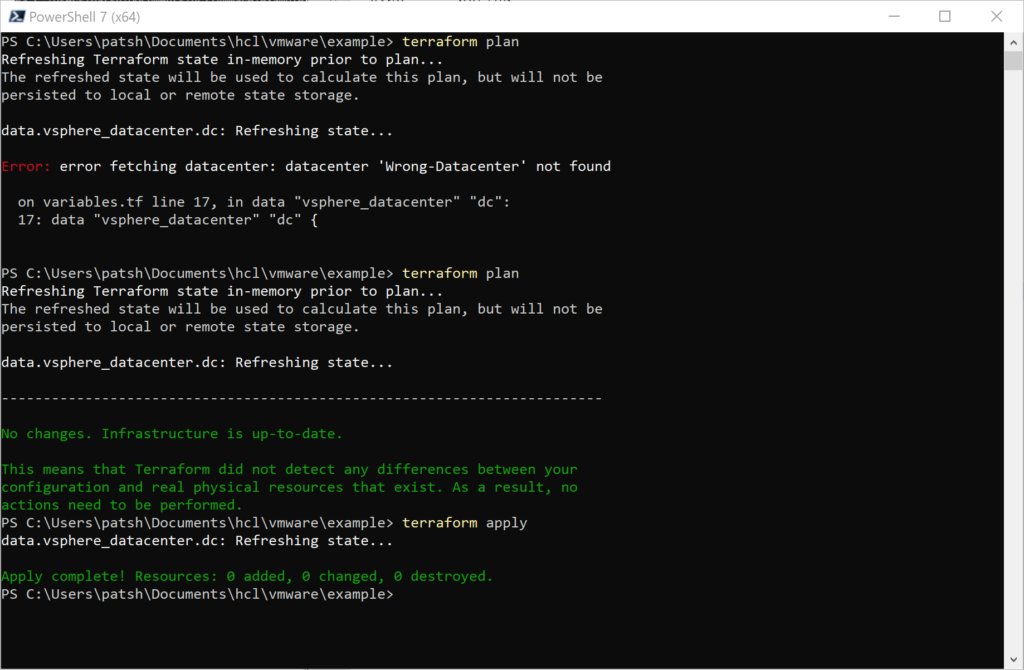
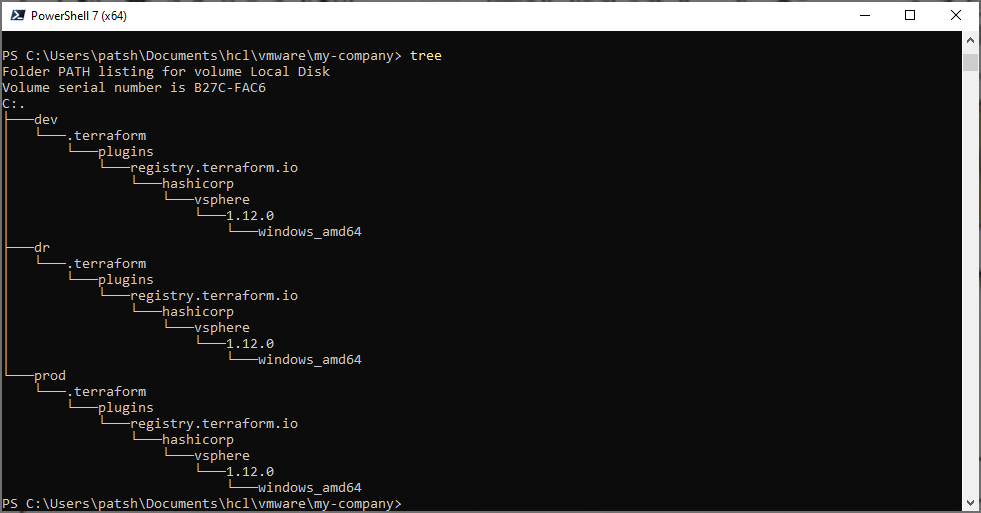
Input Variables allow you to define a string relationship similar to locals but also allows you to pass in values from other files or the command line. Input variables serve as parameters for a module and allow for customization and differentiation between two environments. For vSphere, for example, given that you can not have two vSphere providers or datacenters in the same code defining a datacenter for development and one for production can be done with variables and reference a common code base in another directory.
variable "image_id" {
type = string
}
variable "availability_zone_names" {
type = list(string)
default = ["us-west-1a"]
}
variable "docker_ports" {
type = list(object({
internal = number
external = number
protocol = string
}))
default = [
{
internal = 8300
external = 8300
protocol = "tcp"
}
]
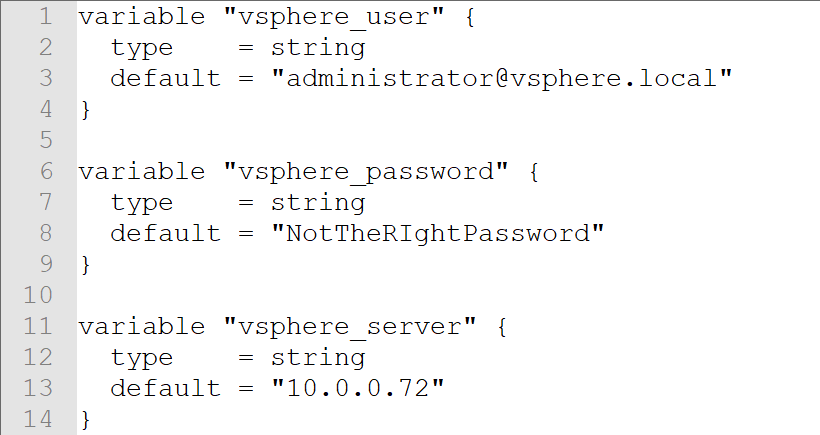
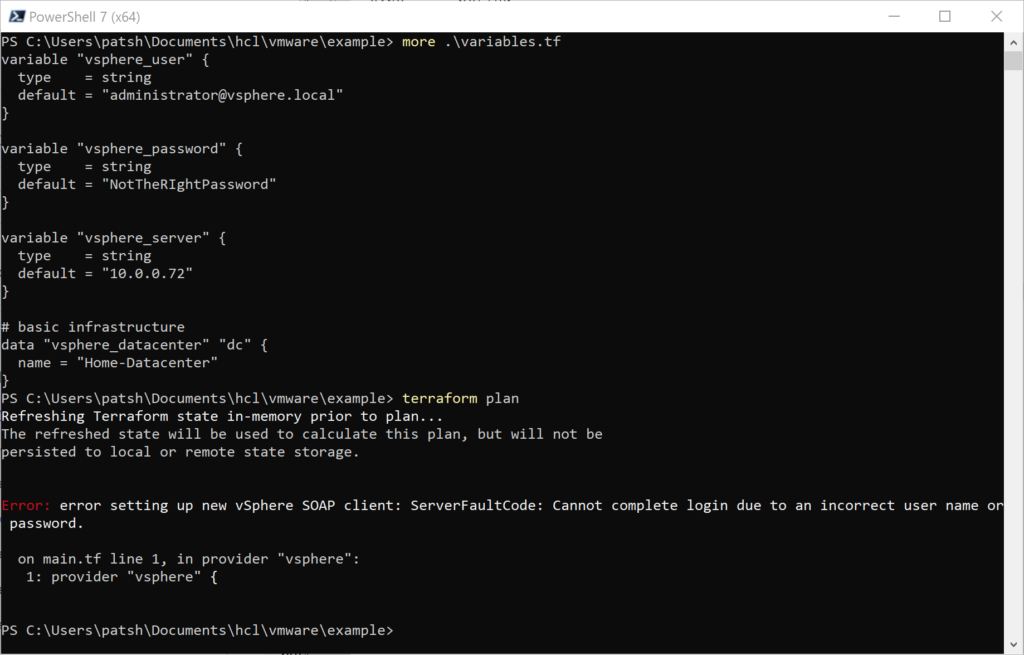
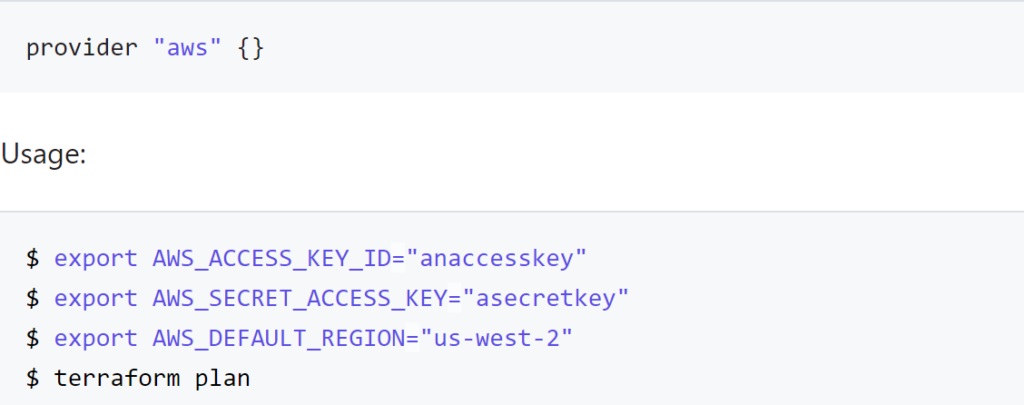
}A variable definition has an identifier associated with it and typically a type that can be a string, number, or boolean and can be combined for more complex relationships like lists, sets, objects, or touples. Variables are typically defined in a file called .tfvars rather than a .tf file or can be passed in with the -var=”label=value” command line parameter. Alternately, variables can be defined as environment variables from the command line and the terraform command line understands how to read these values. Typically user credentials like username and password or public and private keys are defined in an environment variable rather than in a file. For a vSphere provider you can define the following environment variables and hide the connection detains to a server
- VSPHERE_USER (var.user)
- VSPHERE_PASSWORD (var.password)
- VSPHERE_SERVER (var.vsphere_server)
- VSPHERE_ALLOW_UNVERIFIED_SSL (var.allow_unverified_ssl)
Defining any of these variables on the command line get passed into the terraform control files without having to define them in a .tf or .tfvars file or having to pass them in with the -var command line extension. The var.<name> extension shown above are the constructs used to reference each of the parameters in the terraform control files. The three parameters required for a connection to a vSphere server are the var.user, var.password, and var.vsphere_server with the var.allow_unverified_ssl as an optional parameter.
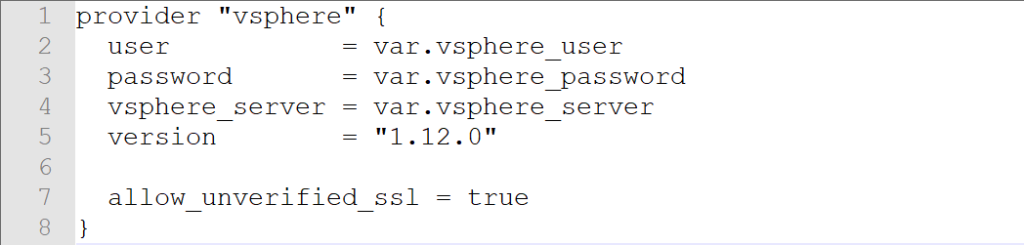
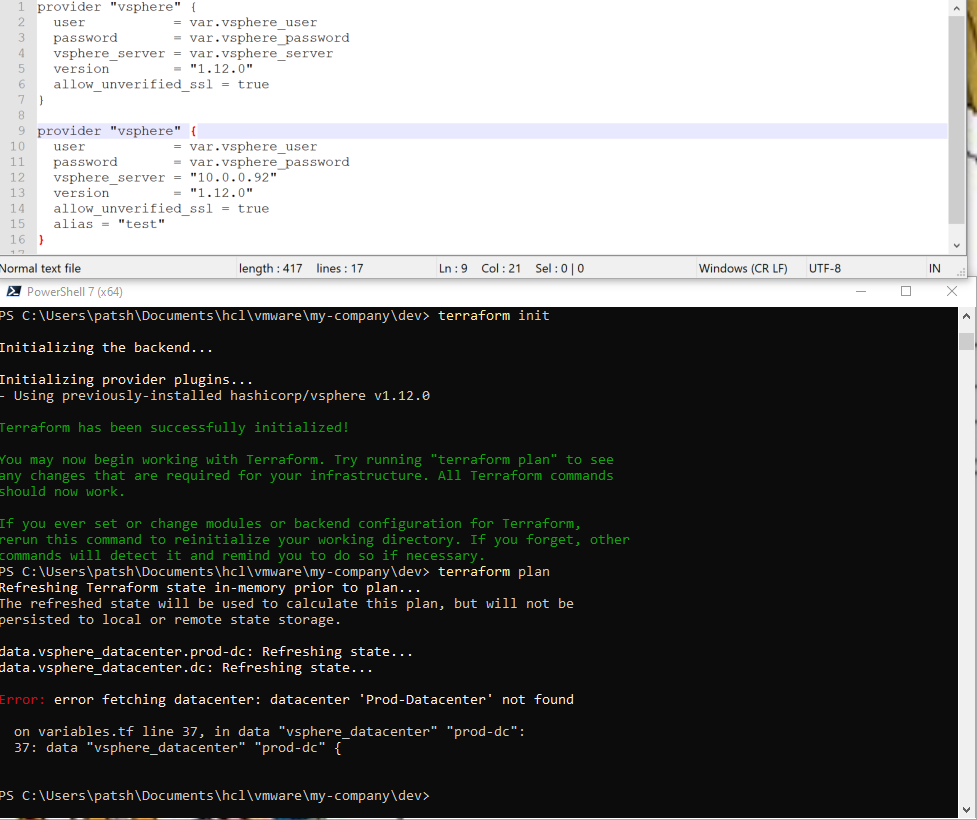
provider "vsphere" {
  user           = var.vsphere_user
  password       = var.vsphere_password
  vsphere_server = var.vsphere_server

  # If you have a self-signed cert
  allow_unverified_ssl = true
}
Typically this is all the code that is needed to connect to a vSphere server. You could define the user, password, and vsphere_server as locals and reference them as local.user but that implies that one of your .tf or .tfvars files contains a password definition that becomes a security issue with file management and version control. Putting the user and password in an environment variable allows for dynamic changing of roles and credentials from the VMware side of the house without having to change your .tf or .tfvars files. Having the vspher_server defined with environment variables allows management of development, production, and disaster recovery using a common foundation file and not having to define a main.tf for each environment.
We could have just as easily defined our user, password and server with a Data Source definition rather than a variable definition. A data declaration is similar to a local declaration but can be more complex than a string comparison.
data "aws_ami" "example" {
most_recent = true
owners = ["self"]
tags = {
Name = "app-server"
Tested = "true"
}
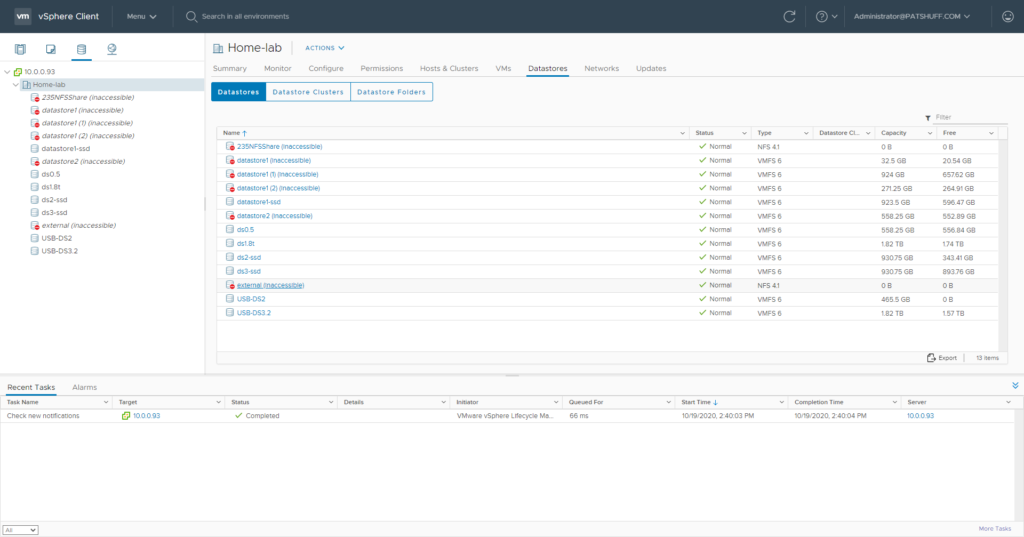
}Declaring a username and password with a data definition is not the most secure and safe way of defining this data. Using a variable declaration and environment variable pulls this information out of source code control and security concerns. Defining a datastore or a template with a data declaration makes more sense given that structures like datacenter, datastore, folder structures, and templates hopefully do not change significantly over time. Templates might change based on new operating system releases but managing this change with a new declaration can be a good thing.
Hopefully, this post helps understand the key difference between variable and data declarations. Both have a purpose. Both can be used. There are some technical reasons to use one over the other. There are some security concerns where one might be a better selection. The real answer is to look at how your organization uses the different constructs and have a meaningful conversation on why one is used and why another is used instead. This is one of the grey areas where there is not one way of solving the problem.